
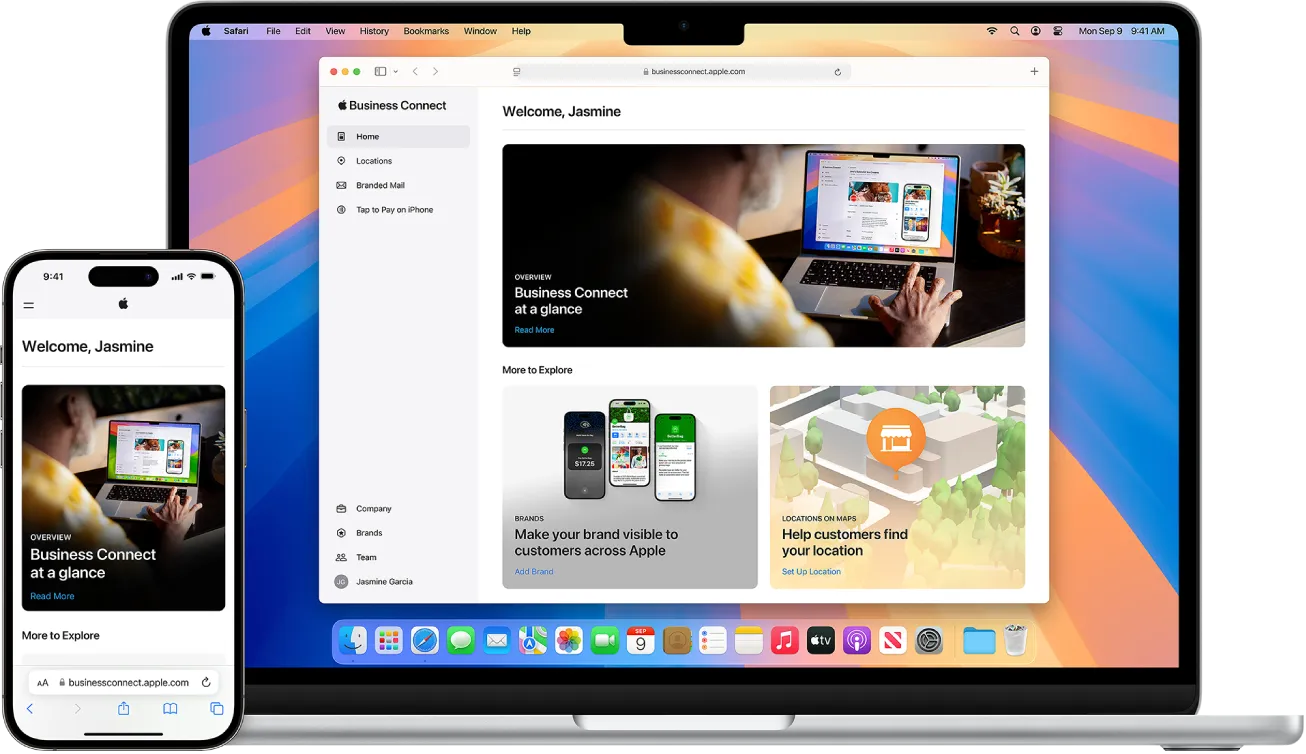
GUIDE: Claim Your Business on Apple Maps and Share Access
Why should you do this?
- To make sure the correct information appears on Apple Maps
- To prevent anyone else from taking control of your listing
- So we can help you keep your profile updated
How long does it take?
- Usually about 5 days.
- If something is incorrect, the process can take longer.
What you need
- An Apple ID (create one if you don’t have one)
- Your business details (name, address, phone number, category, website)
- A document proving that you own the business (e.g., an electricity bill or invoice)
Step-by-Step Guide
📍 Step 1: Find and Claim Your Business
- Open Apple Maps on your iPhone, Mac, or web browser.
- Search for your business name.
- Click on your business if it appears.
- Scroll down and click “Claim this place. This button appears only if your listing hasn’t been claimed.
- After clicking, you will be redirected to the Apple Business Connect website.
Apple will then ask you to sign in with your personal Apple ID.
✏️ Step 2: Choose Entity Type
The first screen asks you to choose Entity Type:
- Business / Organization (choose this)
- Third-party Partner / Agency (do not choose this)
- Enter your legal business name exactly as it appears on official documents. This must match the name on the document you upload later (electricity bill, invoice, etc.).
- Enter Address, Phone Number, and Website
Fill in your:
- Address
- Phone number (with country code)
- Website (must start with https://)
If Apple has already filled in this information and it is correct, you can move on.
- Accept All Terms
- Click the black button labeled “Done” or “Next” to move forward.
🏠 Step 3: Confirm the Business Location Information
This step shows the details that will appear on Apple Maps.
Apple usually fills this in correctly.
Check that everything is correct and click Next.
🌐 Step 4: Choose Languages, Display Name, and Website
Here you need to:
- Select which languages are spoken at your business
- Enter your Display Name
- Example: “RiseRank”
- Apple does not allow descriptions or categories in the name
- Do not enter “RiseRank Media Agency”
- Example: “RiseRank”
- Paste your website again (with https://)
- Click Next.
🔒 Step 5: Confirm Brand Ownership
Apple may ask for your website again.
Choose:
✔️ “Yes – my business owns this brand.”
Click Next.
📸 Step 6 Verify Your Business
This is the final step where you verify your business and identity.
Choose Organization Number (Company Registration Number).
Then select which type of document you want to upload.
Recommended:
- Electricity bill
- Invoice
- Water bill
- Any recent official document with your business name and address
Important rules:
⚠️ No screenshots allowed
- If you have a physical invoice → take a clear photo
- If you have a digital invoice → download it and upload the file. The document must be recent — ideally from the last 1–2 weeks.
After uploading the file, you will see a red icon on the right.
This is normal — do not click it.
When everything is uploaded, click Submit for Review.
Apple usually responds within about 5 days.
📩 Step 7: Share Access With Us After Your Profile Is Approved
When Apple has reviewed your submission, they will send you an email.
You will get an email both if you are approved and if something needs to be corrected.
Always keep an eye on emails from Apple. If something must be updated, Apple will explain the issue and tell you how to fix it.
If you are approved:
- Log in to Apple Business Connect again.
- In the left-hand menu, scroll down to Brands.
- Click on the brand you created.
- Scroll to the bottom until you see Access.
- Click Share Access.
- Enter our Partner ID: 1462584227044269824.
- If the ID is correct, RiseRank will appear automatically.
- Select the role Brand Manager.
- Click Invite.
When you send the invitation, we automatically receive an email from Apple. Once we accept it, you have officially given us access to your business location.